

Learn to use UICollectionView, with extremely reusable UIKit parts and a few MVVM sample with out the going nuts with index path calculations.
Anatomy of the UICollectionView class
In case you’re not acquainted with UICollectionView, I’d recommend to get acquainted with this class instantly. They’re the essential constructing blocks for a lot of apps supplied by Apple and different third social gathering builders. It’s like UITableView on steroids. Here’s a fast intro about how you can work with them by means of IB and Swift code. 💻

You may need observed that I’ve a love for steel music. On this tutorial we’re going to construct an Apple Music catalog like look from floor zero utilizing solely the mighty UICollectionView class. Headers, horizontal and vertical scrolling, round photos, so principally nearly the whole lot that you just’ll ever must construct nice person interfaces. 🤘🏻
The way to make a UICollectionView utilizing Interface Builder (IB) in Xcode?
The quick & sincere reply: you shouldn’t use IB!
In case you nonetheless need to use IB, here’s a actual fast tutorial for completely inexperienced persons:
The principle steps of making your first UICollectionView based mostly display are these:
- Drag a UICollectionView object to your view controller
- Set correct constraints on the gathering view
- Set dataSource & delegate of the gathering view
- Prototype your cell format contained in the controller
- Add constraints to your views contained in the cell
- Set prototype cell class & reuse identifier
- Do some coding:
import UIKit

class MyCell: UICollectionViewCell {
    @IBOutlet weak var textLabel: UILabel!
}

class ViewController: UIViewController {

    @IBOutlet weak var collectionView: UICollectionView!

    override func viewDidLayoutSubviews() {
        tremendous.viewDidLayoutSubviews()

        if let flowLayout = collectionView.collectionViewLayout as? UICollectionViewFlowLayout {
            flowLayout.itemSize = CGSize(
                width: collectionView.bounds.width,
                top: 120
            )
        }
    }
}

extension ViewController: UICollectionViewDataSource {

    func numberOfSections(
        in collectionView: UICollectionView
    ) -> Int {
        1
    }

    func collectionView(
        _ collectionView: UICollectionView,
        numberOfItemsInSection part: Int
    ) -> Int {
        10
    }

    func collectionView(
        _ collectionView: UICollectionView,
        cellForItemAt indexPath: IndexPath
    ) -> UICollectionViewCell {
        let cell = collectionView.dequeueReusableCell(
            withReuseIdentifier: "MyCell",
            for: indexPath
        ) as! MyCell

        cell.textLabel.textual content = String(indexPath.row + 1)
        return cell
    }
}

extension ViewController: UICollectionViewDelegate {

    func collectionView(
        _ collectionView: UICollectionView,
        didSelectItemAt indexPath: IndexPath
    ) {
        print(indexPath.merchandise + 1)
    }
}
In a nutshell, the info supply will present all of the required knowledge about how you can populate the gathering view, and the delegate will deal with person occasions, resembling tapping on a cell. You need to have a transparent understanding concerning the knowledge supply and delegate strategies, so be at liberty to play with them for a short while. ⌨️
The way to setup a UICollectionView based mostly display programmatically?
As you may need observed cells are the core parts of a set view. They’re derived from reusable views, which means when you’ve got a listing of 1000 parts, there received’t be a thousand cells created for each aspect, however only some that fills the scale of the display and if you scroll down the record this stuff are going to be reused to show your parts. That is solely due to reminiscence concerns, so not like UIScrollView the UICollectionView (and UITableView) class is a extremely good and environment friendly one, however that is additionally the explanation why you need to put together (reset the contents of) the cell each time earlier than you show your precise knowledge. 😉
Initialization can be dealt with by the system, but it surely’s value to say that in case you are working with Interface Builder, it is best to do your customization contained in the awakeFromNib methodology, however in case you are utilizing code, init(body:) is your home.
import UIKit

class MyCell: UICollectionViewCell {

    weak var textLabel: UILabel!

    override init(body: CGRect) {
        tremendous.init(body: body)

        let textLabel = UILabel(body: .zero)
        textLabel.translatesAutoresizingMaskIntoConstraints = false
        contentView.addSubview(textLabel)
        NSLayoutConstraint.activate([
            textLabel.topAnchor.constraint(
                equalTo: contentView.topAnchor
            ),
            textLabel.bottomAnchor.constraint(
                equalTo: contentView.bottomAnchor
            ),
            textLabel.leadingAnchor.constraint(
                equalTo: contentView.leadingAnchor
            ),
            textLabel.trailingAnchor.constraint(
                equalTo: contentView.trailingAnchor
            ),
        ])
        self.textLabel = textLabel

        contentView.backgroundColor = .lightGray
        textLabel.textAlignment = .heart
    }

    required init?(coder aDecoder: NSCoder) {
        tremendous.init(coder: aDecoder)

        fatalError("Interface Builder is just not supported!")
    }

    override func awakeFromNib() {
        tremendous.awakeFromNib()

        fatalError("Interface Builder is just not supported!")
    }

    override func prepareForReuse() {
        tremendous.prepareForReuse()

        textLabel.textual content = nil
    }
}
Subsequent we’ve to implement the view controller which is accountable for managing the gathering view, we’re not utilizing IB so we’ve to create it manually by utilizing Auto Format anchors – like for the textLabel within the cell – contained in the loadView methodology. After the view hierarchy is able to rock, we additionally set the info supply and delegate plus register our cell class for additional reuse. Be aware that that is carried out mechanically by the system in case you are utilizing IB, however in case you want code you need to do it by calling the correct registration methodology. You may register each nibs and courses.
import UIKit

class ViewController: UIViewController {

    weak var collectionView: UICollectionView!

    override func loadView() {
        tremendous.loadView()

        let collectionView = UICollectionView(
            body: .zero,
            collectionViewLayout: UICollectionViewFlowLayout()
        )
        collectionView.translatesAutoresizingMaskIntoConstraints = false
        view.addSubview(collectionView)
        NSLayoutConstraint.activate([
            collectionView.topAnchor.constraint(
                equalTo: view.topAnchor
            ),
            collectionView.bottomAnchor.constraint(
                equalTo: view.bottomAnchor
            ),
            collectionView.leadingAnchor.constraint(
                equalTo: view.leadingAnchor
            ),
            collectionView.trailingAnchor.constraint(
                equalTo: view.trailingAnchor
            ),
        ])
        self.collectionView = collectionView
    }

    override func viewDidLoad() {
        tremendous.viewDidLoad()

        collectionView.backgroundColor = .white
        collectionView.dataSource = self
        collectionView.delegate = self
        collectionView.register(
            MyCell.self,
            forCellWithReuseIdentifier: "MyCell"
        )
    }
}

extension ViewController: UICollectionViewDataSource {

    func numberOfSections(
        in collectionView: UICollectionView
    ) -> Int {
        1
    }

    func collectionView(
        _ collectionView: UICollectionView,
        numberOfItemsInSection part: Int
    ) -> Int {
        10
    }

    func collectionView(
        _ collectionView: UICollectionView,
        cellForItemAt indexPath: IndexPath
    ) -> UICollectionViewCell {
        let cell = collectionView.dequeueReusableCell(
            withReuseIdentifier: "MyCell",
            for: indexPath
        ) as! MyCell

        cell.textLabel.textual content = String(indexPath.row + 1)
        return cell
    }
}

extension ViewController: UICollectionViewDelegate {

    func collectionView(
        _ collectionView: UICollectionView,
        didSelectItemAt indexPath: IndexPath
    ) {
        print(indexPath.row + 1)
    }
}

extension ViewController: UICollectionViewDelegateFlowLayout {

    func collectionView(
        _ collectionView: UICollectionView,
        format collectionViewLayout: UICollectionViewLayout,
        sizeForItemAt indexPath: IndexPath
    ) -> CGSize {
        .init(
            width: collectionView.bounds.dimension.width - 16,
            top: 120
        )
    }
    func collectionView(
        _ collectionView: UICollectionView,
        format collectionViewLayout: UICollectionViewLayout,
        minimumLineSpacingForSectionAt part: Int
    ) -> CGFloat {
        8
    }

    func collectionView(
        _ collectionView: UICollectionView,
        format collectionViewLayout: UICollectionViewLayout,
        minimumInteritemSpacingForSectionAt part: Int
    ) -> CGFloat {
        0
    }

    func collectionView(
        _ collectionView: UICollectionView,
        format collectionViewLayout: UICollectionViewLayout,
        insetForSectionAt part: Int
    ) -> UIEdgeInsets {
        .init(prime: 8, left: 8, backside: 8, proper: 8)
    }
}
This time it is best to pay some consideration on the movement format delegate strategies. You need to use these strategies to offer metrics for the format system. The movement format will show all of the cells based mostly on these numbers and sizes. sizeForItemAt is accountable for the cell dimension, minimumInteritemSpacingForSectionAt is the horizontal padding, minimumLineSpacingForSectionAt is the vertical padding, and insetForSectionAt is for the margin of the gathering view part.
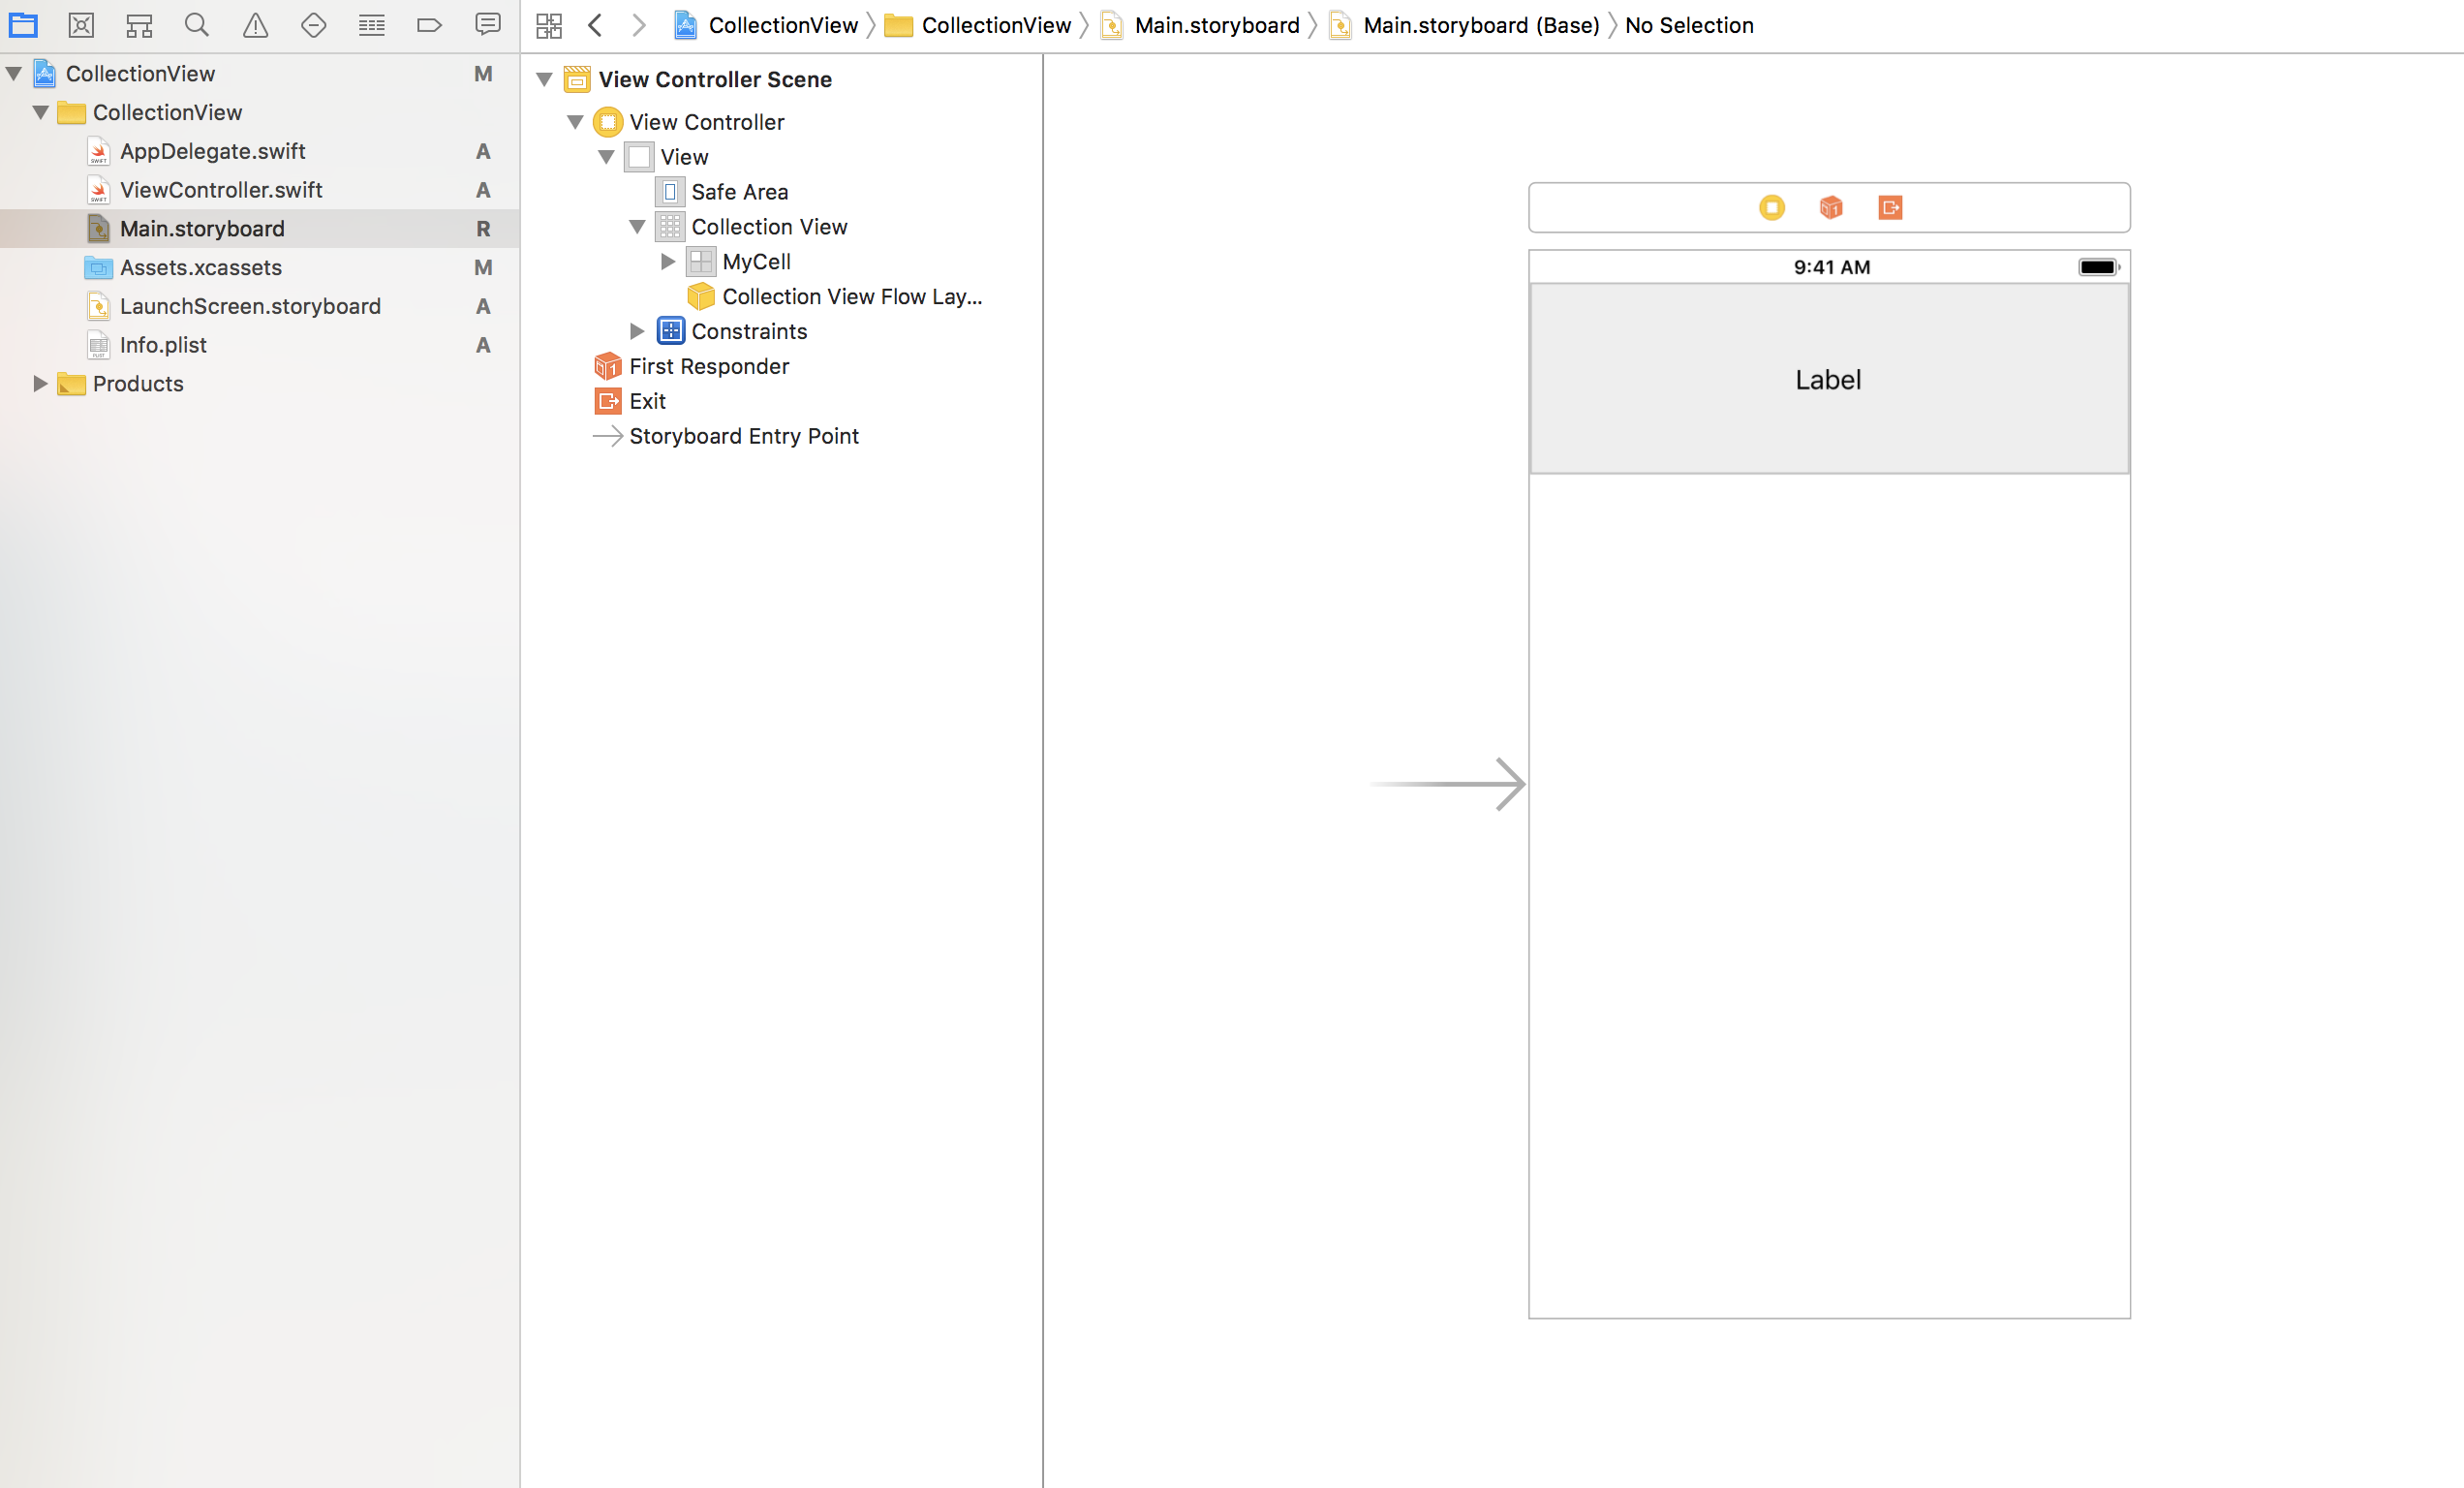
So on this part I’m going to each use storyboards, nibs and a few Swift code. That is my ordinary method for just a few causes. Though I like making constraints from code, most individuals want visible editors, so all of the cells are created inside nibs. Why nibs? As a result of when you’ve got a number of assortment views that is “nearly” the one good solution to share cells between them.
You may create part footers precisely the identical approach as you do headers, in order that’s why this time I’m solely going to concentrate on headers, as a result of actually you solely have to vary one phrase with a purpose to use footers. ⚽️
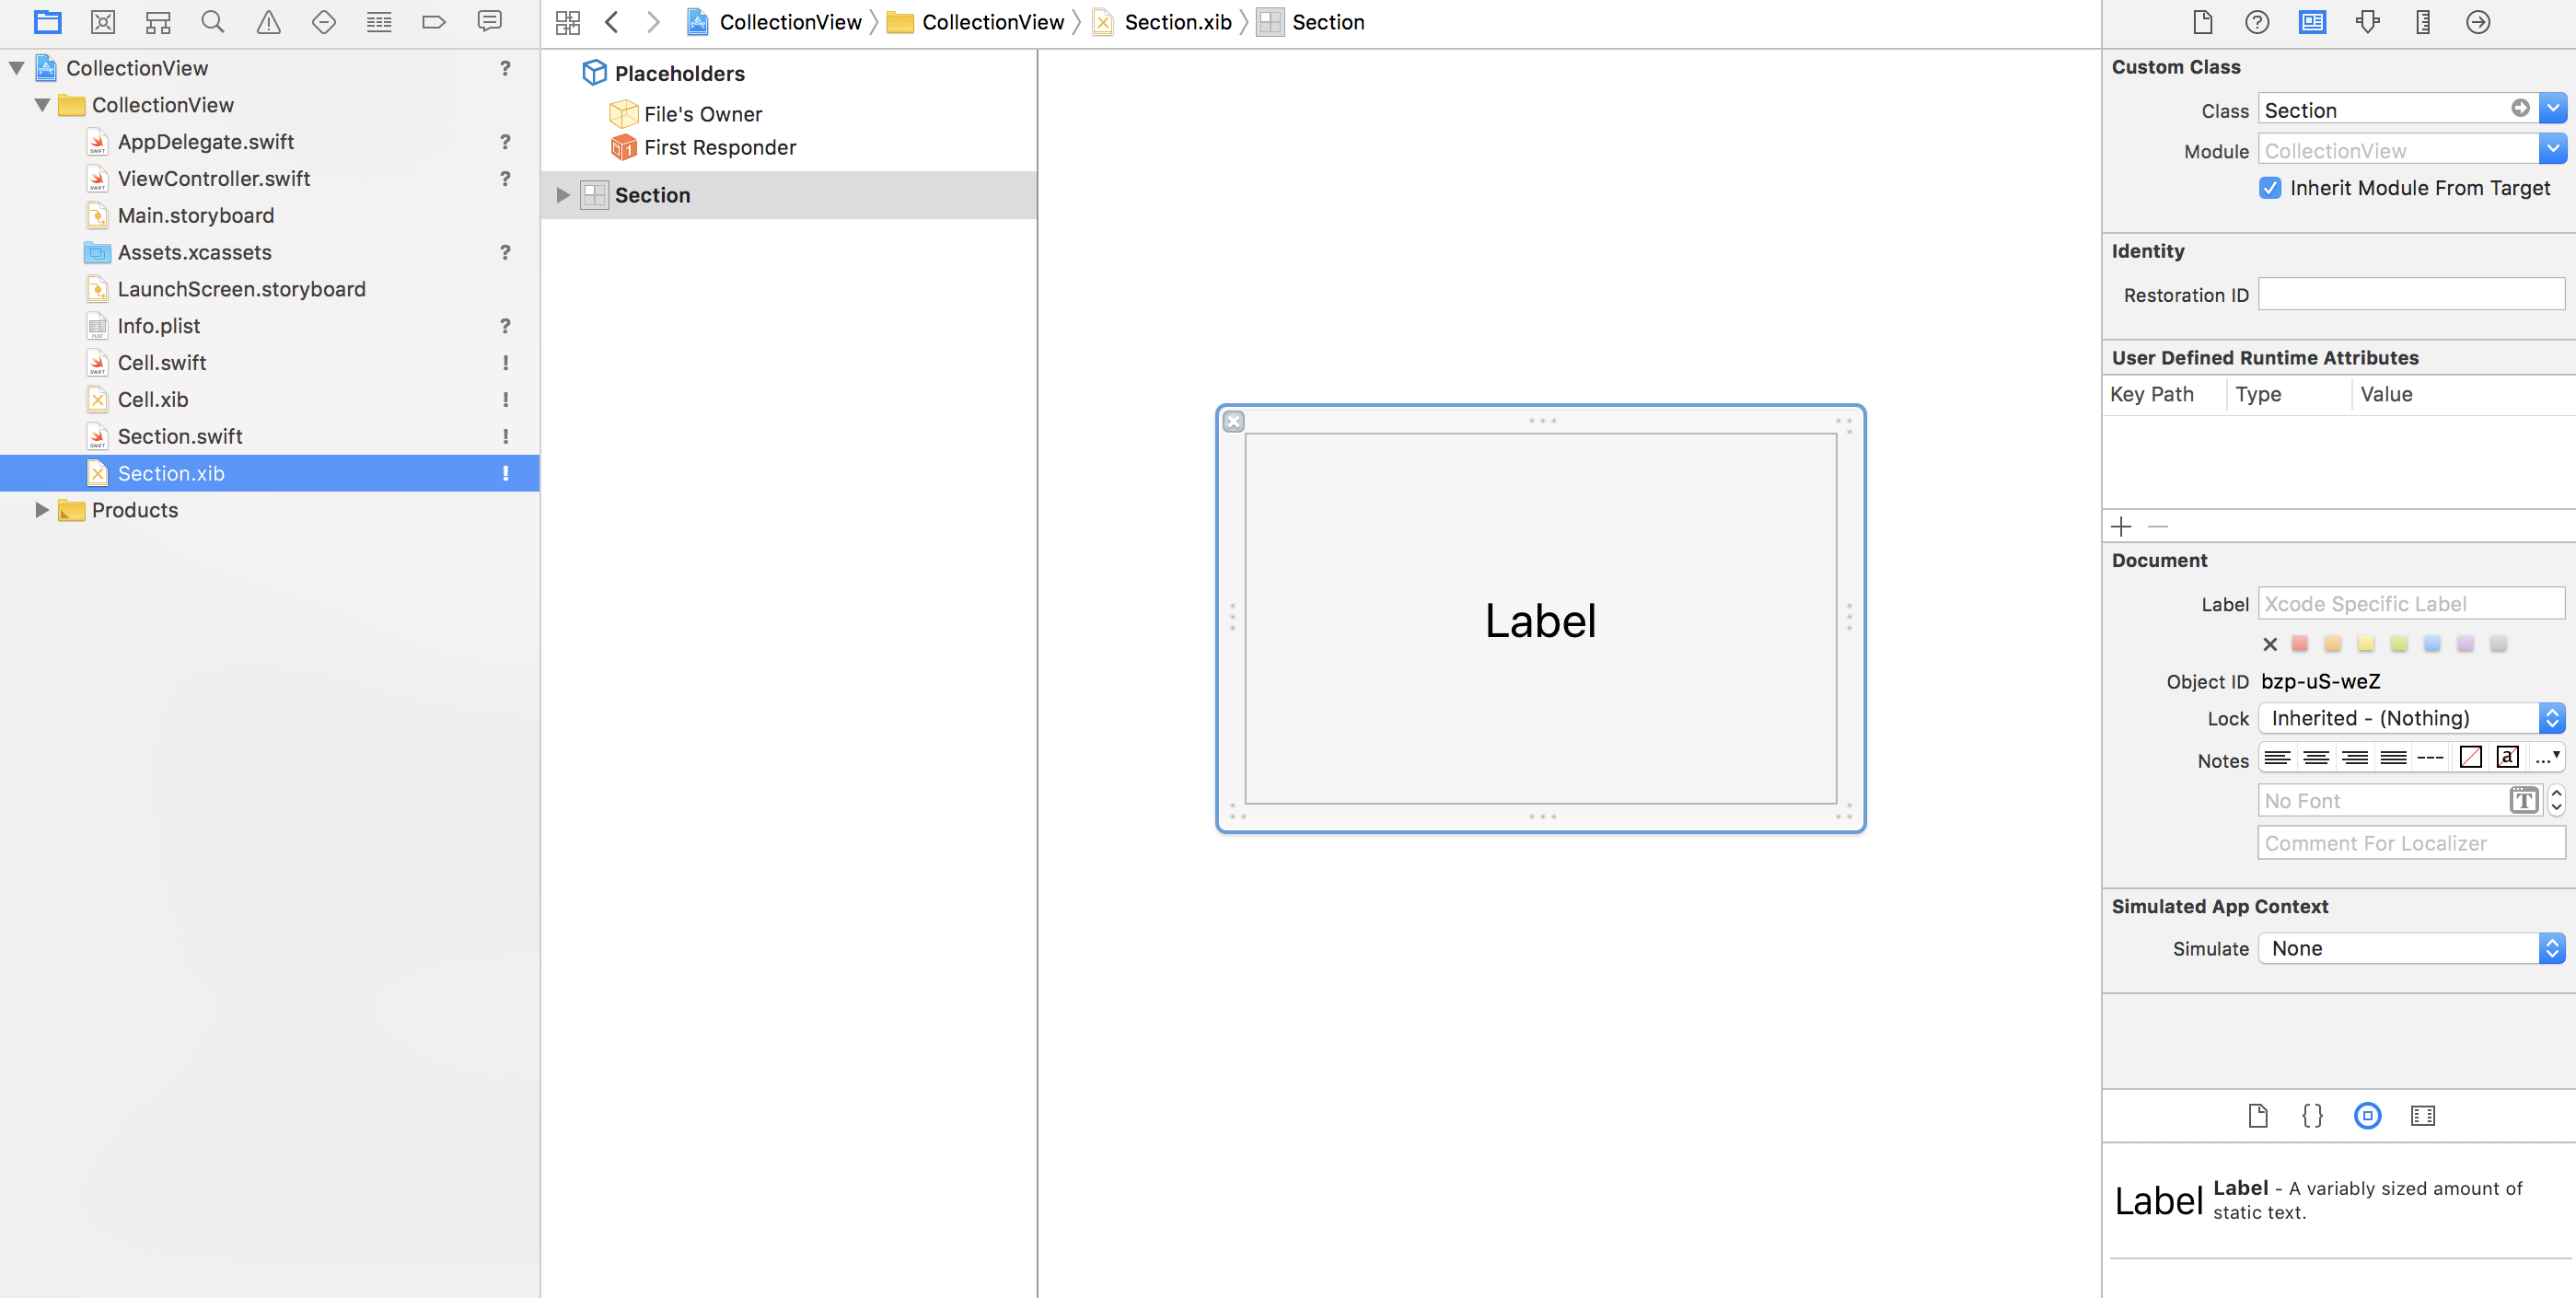
You simply need to create two xib recordsdata, one for the cell and one for the header. Please notice that you can use the very same assortment view cell to show content material within the part header, however it is a demo so let’s simply go along with two distinct gadgets. You don’t even need to set the reuse identifier from IB, as a result of we’ve to register our reusable views contained in the supply code, so simply set the cell class and join your retailers.
Cell and supplementary aspect registration is barely completely different for nibs.
let cellNib = UINib(nibName: "Cell", bundle: nil)
self.collectionView.register(
    cellNib,
    forCellWithReuseIdentifier: "Cell"
)

let sectionNib = UINib(nibName: "Part", bundle: nil)
self.collectionView.register(
    sectionNib,
    forSupplementaryViewOfKind: UICollectionView.elementKindSectionHeader,
    withReuseIdentifier: "Part"
)
Implementing the info supply for the part header appears like this.
func collectionView(
    _ collectionView: UICollectionView,
    viewForSupplementaryElementOfKind sort: String,
    at indexPath: IndexPath
) -> UICollectionReusableView {

    guard sort == UICollectionView.elementKindSectionHeader else {
        return UICollectionReusableView()
    }
    let view = collectionView.dequeueReusableSupplementaryView(
        ofKind: sort,
        withReuseIdentifier: "Part",
        for: indexPath
    ) as! Part

    view.textLabel.textual content = String(indexPath.part + 1)
    return view
}
Offering the scale for the movement format delegate can be fairly easy, nonetheless generally I don’t actually get the naming conventions by Apple. As soon as you need to swap a sort, and the opposite time there are actual strategies for particular sorts. 🤷♂️
func collectionView(
    _ collectionView: UICollectionView,
    format collectionViewLayout: UICollectionViewLayout,
    referenceSizeForHeaderInSection part: Int
) -> CGSize {
    .init(
        width: collectionView.bounds.dimension.width,
        top: 64
    )
}
Ranging from iOS9 part headers and footers might be pinned to the highest or backside of the seen bounds of the gathering view.
if let flowLayout = self.collectionView.collectionViewLayout as? UICollectionViewFlowLayout {
    flowLayout.sectionHeadersPinToVisibleBounds = true
}
That’s it, now you know the way to construct fundamental layouts with assortment view.
What about complicated instances, like utilizing a number of sorts of cells in the identical assortment view? Issues can get fairly messy with index paths, in order that’s why I re-invented one thing higher based mostly on a way how you can construct superior person interfaces with assortment views showcased by Apple again at WWDC 2014.
My CollectionView based mostly UI framework
Now you already know the fundamentals, so why don’t we get straight to the purpose? I’ll present you my finest apply of constructing nice person interfaces through the use of my MVVM structure based mostly CollectionView micro framework.
CollectionView + ViewModel sample = ❤️ .
I’ll clarify the parts actual fast and after that you just’ll learn to use them to construct up the Apple music-ish format that I used to be speaking about to start with. 🎶
Grid system
The primary drawback with assortment views is the scale calculation. You must present the scale (width & top) for every cell inside your assortment view.
- if the whole lot has a set dimension inside your assortment view, you may simply set the scale properties on the movement format itself
- in case you want dynamic sizes per merchandise, you may implement the movement format delegate aka. UICollectionViewDelegateFlowLayout (why is the delegate phrase in the midst of the title???) and return the precise sizes for the format system
- in case you want much more management you may create a brand new format subclass derived from CollectionView(Movement)Format and do all the scale calculations there
Thats good, however nonetheless you need to mess with index paths, trait collections, frames and plenty of extra with a purpose to have a easy 2, 4, n column format that adapts on each system. That is the explanation why I’ve created a extremely fundamental grid system for dimension calculation. With my grid class you may simply set the variety of columns and get again the scale for x quantity of columns, “identical to” in internet based mostly css grid techniques. 🕸
Cell reuse
Registering and reusing cells ought to and might be automated in a sort secure method. You simply need to use the cell, and also you shouldn’t care about reuse identifiers and cell registration in any respect. I’ve made a pair helper strategies with a purpose to make the progress extra nice. Reuse identifiers are derived from the title of the cell courses, so that you dont’t have to fret about anymore. This can be a apply that a lot of the builders use.
View mannequin
view mannequin = cell (view) + knowledge (mannequin)
Filling up “template” cell with actual knowledge must be the duty of a view mannequin. That is the place MVVM comes into play. I’ve made a generic base view mannequin class, that it is best to subclass. With the assistance of a protocol, you should use numerous cells in a single assortment view with out going loopy of the row & part calculations and you’ll concentrate on one easy process: connecting view with fashions. 😛
Part
part = header + footer + cells
I’m attempting to emphasise that you just don’t need to mess with index paths, you simply need to put your knowledge collectively and that’s it. Prior to now I’ve struggled greater than sufficient with “pointless index path math”, so I’ve made the part object as a easy container to wrap headers, footers and all of the gadgets inside the part. The consequence? Generic knowledge supply class that can be utilized with a number of cells with none row or part index calculations. 👏👏👏
Supply
So with a purpose to make all of the issues I’ve talked about above work, I wanted to implement the gathering view delegate, knowledge supply, and movement format delegate strategies. That’s how my supply class was born. Every thing is applied right here, and I’m utilizing sections, view fashions the grid system to construct up assortment views. However hey, sufficient from this concept, let’s see it in apply. 👓
CollectionView framework instance utility
The way to make a any record or grid format trouble free? Properly, as a primary step simply add my CollectionView framework as a dependency. Don’t fear you received’t remorse it, plus it helps Xcode 11 already, so you should use the Swift Bundle Supervisor, straight from the file menu to combine this package deal.
Tip: simply add the @_exported import CollectionView line within the AppDelegate file, then you definitely I don’t have to fret about importing the framework file-by-file.
Step 1. Make the cell.
This step is an identical with the common setup, besides that your cell need to be a subclass of my Cell class. Add your personal cell and do the whole lot as you’d do usually.
import UIKit

class AlbumCell: Cell {

    @IBOutlet weak var textLabel: UILabel!
    @IBOutlet weak var detailTextLabel: UILabel!
    @IBOutlet weak var imageView: UIImageView!

    override func awakeFromNib() {
        tremendous.awakeFromNib()

        self.textLabel.font = UIFont.systemFont(ofSize: 12, weight: .daring)
        self.textLabel.textColor = .black

        self.detailTextLabel.font = UIFont.systemFont(ofSize: 12, weight: .daring)
        self.detailTextLabel.textColor = .darkGray

        self.imageView.layer.cornerRadius = 8
        self.imageView.layer.masksToBounds = true
    }

    override func reset() {
        tremendous.reset()

        self.textLabel.textual content = nil
        self.detailTextLabel.textual content = nil
        self.imageView.picture = nil
    }
}
Step 2. Make a mannequin
Simply choose a mannequin object. It may be something, however my method is to make a brand new struct or class with a Mannequin suffix. This manner I do know that fashions are referencing the gathering view fashions inside my reusable parts folder.
import Basis

struct AlbumModel {
    let artist: String
    let title: String
    let picture: String
}
Step 3. Make the view mannequin.
Now as an alternative of configuring the cell contained in the delegate, or in a configure methodology someplace, let’s make an actual view mannequin for the cell & the info mannequin that’s going to be represented by way of the view.
import UIKit

class AlbumViewModel: ViewModel {

    override func updateView() {
        self.view?.textLabel.textual content = self.mannequin.artist
        self.view?.detailTextLabel.textual content = self.mannequin.title
        self.view?.imageView.picture = UIImage(named: self.mannequin.picture)
    }

    override func dimension(grid: Grid) -> CGSize {
        if
            (self.collectionView.traitCollection.userInterfaceIdiom == .cellphone &&
             self.collectionView.traitCollection.verticalSizeClass == .compact) ||
            self.collectionView?.traitCollection.userInterfaceIdiom == .pad
        {
            return grid.dimension(
                for: self.collectionView,
                ratio: 1.2,
                gadgets: grid.columns / 4,
                gaps: grid.columns - 1
            )
        }
        if grid.columns == 1 {
            return grid.dimension(for: self.collectionView, ratio: 1.1)
        }
        return grid.dimension(
            for: self.collectionView,
            ratio: 1.2,
            gadgets: grid.columns / 2,
            gaps: grid.columns - 1
        )
    }
}
Step 4. Setup your knowledge supply.
Now, use your actual knowledge and populate your assortment view utilizing the view fashions.
let grid = Grid(columns: 1, margin: UIEdgeInsets(all: 8))
self.collectionView.supply = .init(grid: grid, [
    [
        HeaderViewModel(.init(title: "Albums"))
        AlbumViewModel(self.album)
    ],
])
self.collectionView.reloadData()
Step 5. 🍺🤘🏻🎸
Congratulations you’re carried out together with your first assortment view. With just some traces of code you’ve gotten a ROCK SOLID code that may enable you to out in a lot of the conditions! 😎
That is simply the tip of the iceberg! 🚢
What if we make a cell that incorporates a set view and we use the identical methodology like above? A group view containing a set view… UICollectionViewception!!! 😂
It’s fully potential, and very easy to do, the info that feeds the view mannequin can be a set view supply object, and also you’re carried out. Easy, magical and tremendous good to implement, additionally included within the instance app.
Sections with artists & round photos
A number of sections? No drawback, round photos? That’s additionally a bit of cake, in case you had learn my earlier tutorial about round assortment view cells, you’ll know how you can do it, however please try the supply code from GitLab and see it for your self in motion.
Callbacks and actions
Consumer occasions might be dealt with very straightforward, as a result of view fashions can have delegates or callback blocks, it solely is determined by you which of them one you favor. The instance incorporates an onSelect handler, which is tremendous good and built-in to the framework. 😎
Dynamic cell sizing re-imagined
I additionally had a tutorial about assortment view self sizing cell assist, however to be sincere I’m not an enormous fan of Apple’s official methodology. After I’ve made the grid system and began utilizing view fashions, it was simpler to calculate cell heights on my own, with about 2 traces of additional code. I consider that’s value it, as a result of self sizing cells are a bit of buggy if it involves auto rotation.
Rotation assist, adaptivity
Don’t fear about that an excessive amount of, you may merely change the grid or verify trait collections contained in the view mannequin if you would like. I’d say nearly the whole lot might be carried out proper out of the field. My assortment view micro framework is only a light-weight wrapper across the official assortment view APIs. That’s the fantastic thing about it, be at liberty to do no matter you need and use it in a approach that YOU personally want. 📦
Now go, seize the pattern code and hearken to some steel! 🤘🏻
What if I instructed you… yet one more factor: SwiftUI
These are some authentic quotes of mine again from April, 2018:
In case you like this methodology that’s cool, however what if I instructed you that there’s extra? Do you need to use the identical sample in all places? I imply on iOS, tvOS, macOS and even watchOS. Carried out deal! I’ve created the whole lot contained in the CoreKit framework. UITableViews, WKInterfaceTables are supported as properly.
Properly, I’m a visionary, however SwiftUI was late 1 12 months, it arrived in 2019:
I actually consider that Apple this 12 months will method the subsequent technology UIKit / AppKit / UXKit frameworks (written in Swift in fact) considerably like this. I’m not speaking concerning the view mannequin sample, however about the identical API on each platform considering. Anyway, who is aware of this for sue, we’ll see… #wwdc18 🤔
If somebody from Apple reads this, please clarify me why the hell is SwiftUI nonetheless an abstraction layer above UIKit/ AppKit as an alternative of a refactored AppleKit UI framework that lastly unifies each single API? For actual, why? Nonetheless don’t get it. 🤷♂️
Anyway, we’re getting into to the identical course guys, year-by-year I delete increasingly self-written “Third-party” code, so that you’re doing nice progress there! 🍎
