

Discover ways to sync information and information by a shared iCloud drive folder utilizing the newest model of Swift programming language.
iCloud drive venture setup tutorial
Let’s begin by creating a brand new venture for iOS. You may choose the one view utility template, don’t fear an excessive amount of about doc based mostly apps, as a result of on this tutorial we’re not going to the touch the UIDocument class in any respect. 🤷♂️

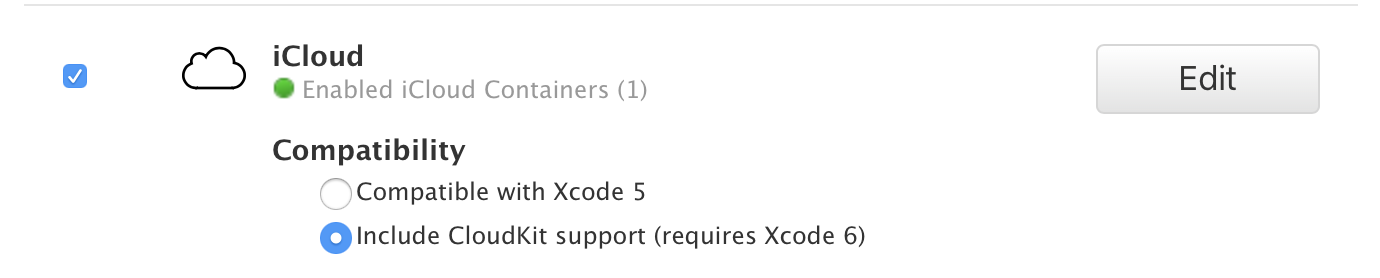
Step one is to allow iCloud capabilities, which can generate a brand new entitlements file for you. Additionally you’ll need to allow the iCloud utility service for the app id on the Apple developer portal. You also needs to assign the iCloud container that’s going for use to retailer information. Only a few clicks, however you need to do that manually. 💩
You want a legitimate Apple Developer Program membership with the intention to set superior app capabilities like iCloud help. So you need to pay $99/12 months. #greed 🤑
So I consider that now you’ve a correct iOS app identifier with iCloud capabilities and utility providers enabled. One final step is forward, you need to add these few strains to your Data.plist file with the intention to outline the iCloud drive container (folder identify) that you simply’re going to make use of. Observe you can have a number of containers for one app.
NSUbiquitousContainers

    iCloud.com.tiborbodecs.teszt

        NSUbiquitousContainerIsDocumentScopePublic

        NSUbiquitousContainerName
        Teszt
        NSUbiquitousContainerSupportedFolderLevels
        Any
Lastly we’re prepared to maneuver ahead with some precise coding. 💻
Information inside iCloud drive containers
Working with iCloud information utilizing Swift is comparatively simple. Principally you simply need to get the bottom URL of your iCloud drive container, and you are able to do no matter you need. 🤔 Nevertheless I’ll present you some greatest practices & tips.
First you need to examine in case your container folder already exists, if not it is best to create it by hand utilizing the FileManager class. I’ve additionally made a “shortcut” variable for the container base URL, so I don’t have to put in writing all these lengthy phrases once more. 😅
var containerUrl: URL? {
    FileManager.default.url(
        forUbiquityContainerIdentifier: nil
    )?.appendingPathComponent("Paperwork")
}
// examine for container existence
if
    let url = self.containerUrl,
    !FileManager.default.fileExists(
        atPath: url.path,
        isDirectory: nil
    ) {
    do {
        strive FileManager.default.createDirectory(
            at: url, withIntermediateDirectories: true,
            attributes: nil
        )
    }
    catch {
        print(error.localizedDescription)
    }
}
Working with paths contained in the iCloud drive container is straightforward, you possibly can append path parts to the bottom URL and use that actual location URL as you need.
let myDocumentUrl = self.containerUrl?
    .appendingPathComponent(subDirectory)
    .appendingPathComponent(fileName)
    .appendingPathExtension(fileExtension)
Selecting present information can also be fairly simple. You need to use the built-in doc picker class from UIKit. There are solely two catches right here. 🤦♂️
First one is that that you must present the kind of the paperwork that you simply’d prefer to entry. Have you ever ever heard about UTI’s? No? Perhaps sure…? The factor is that you need to discover the correct uniform kind identifier for each file kind, as a substitute of offering an extension or mime-type or one thing generally used factor. Sensible one, huh? 🧠
let picker = UIDocumentPickerViewController(
    documentTypes: ["public.json"],
    in: .open
)
picker.delegate = self
picker.modalPresentationStyle = .fullScreen
self.current(picker, animated: true, completion: nil)
The second catch is that you need to “unlock” the picked file earlier than you begin studying it. That may be executed by calling the startAccessingSecurityScopedResource technique. Don’t overlook to name the stopAccessingSecurityScopedResource technique, or issues are going to be out of stability. You don’t need that, belief me! #snap 🧤
func documentPicker(
    _ controller: UIDocumentPickerViewController,
    didPickDocumentsAt urls: [URL]
) {
    guard
        controller.documentPickerMode == .open,
        let url = urls.first,
        url.startAccessingSecurityScopedResource()
    else {
        return
    }
    defer {
        url.stopAccessingSecurityScopedResource()
    }
    // do some work with the url
}
Every little thing else works as you’d anticipate. It can save you information instantly into the container by file APIs or by utilizing the UIDocumentPickerViewController occasion. Listed here are a number of the commonest api calls, that you should utilize to govern information.
// string
strive string.write(to: url, atomically: true, encoding: .utf8)
strive String(contentsOf: url)

// information
strive information.write(to: url, choices: [.atomic])
strive Information(contentsOf: url)

// file supervisor
FileManager.default.copyItem(at: native, to: url)
FileManager.default.removeItem(at: url)
You may learn and write any form of string, information. Through the use of the FileManager you possibly can copy, transfer, delete gadgets or change file attributes. All of your paperwork saved inside iCloud drive shall be magically accessible on each machine. Clearly you need to be logged in along with your iCloud account, and have sufficient free storage. 💰
Debugging
When you alter one thing in your settings you would possibly need to increment your construct quantity as effectively with the intention to notify the working system concerning the adjustments. 💡
On the mac all of the iCloud drive information / containers are situated underneath the person’s Library folder contained in the Cell Paperwork listing. You may merely use the Terminal or Finder to go there and record all of the information. Professional tip: search for hidden ones as effectively! 😉
cd ~/Library/Cell Paperwork
ls -la
# ls -la|grep tiborbodecs
It’s also possible to monitor the exercise of the CloudDocs daemon, by utilizing this command:
# man brctl
brctl log --wait --shorten
The output will inform you what’s truly occurring throughout the sync.
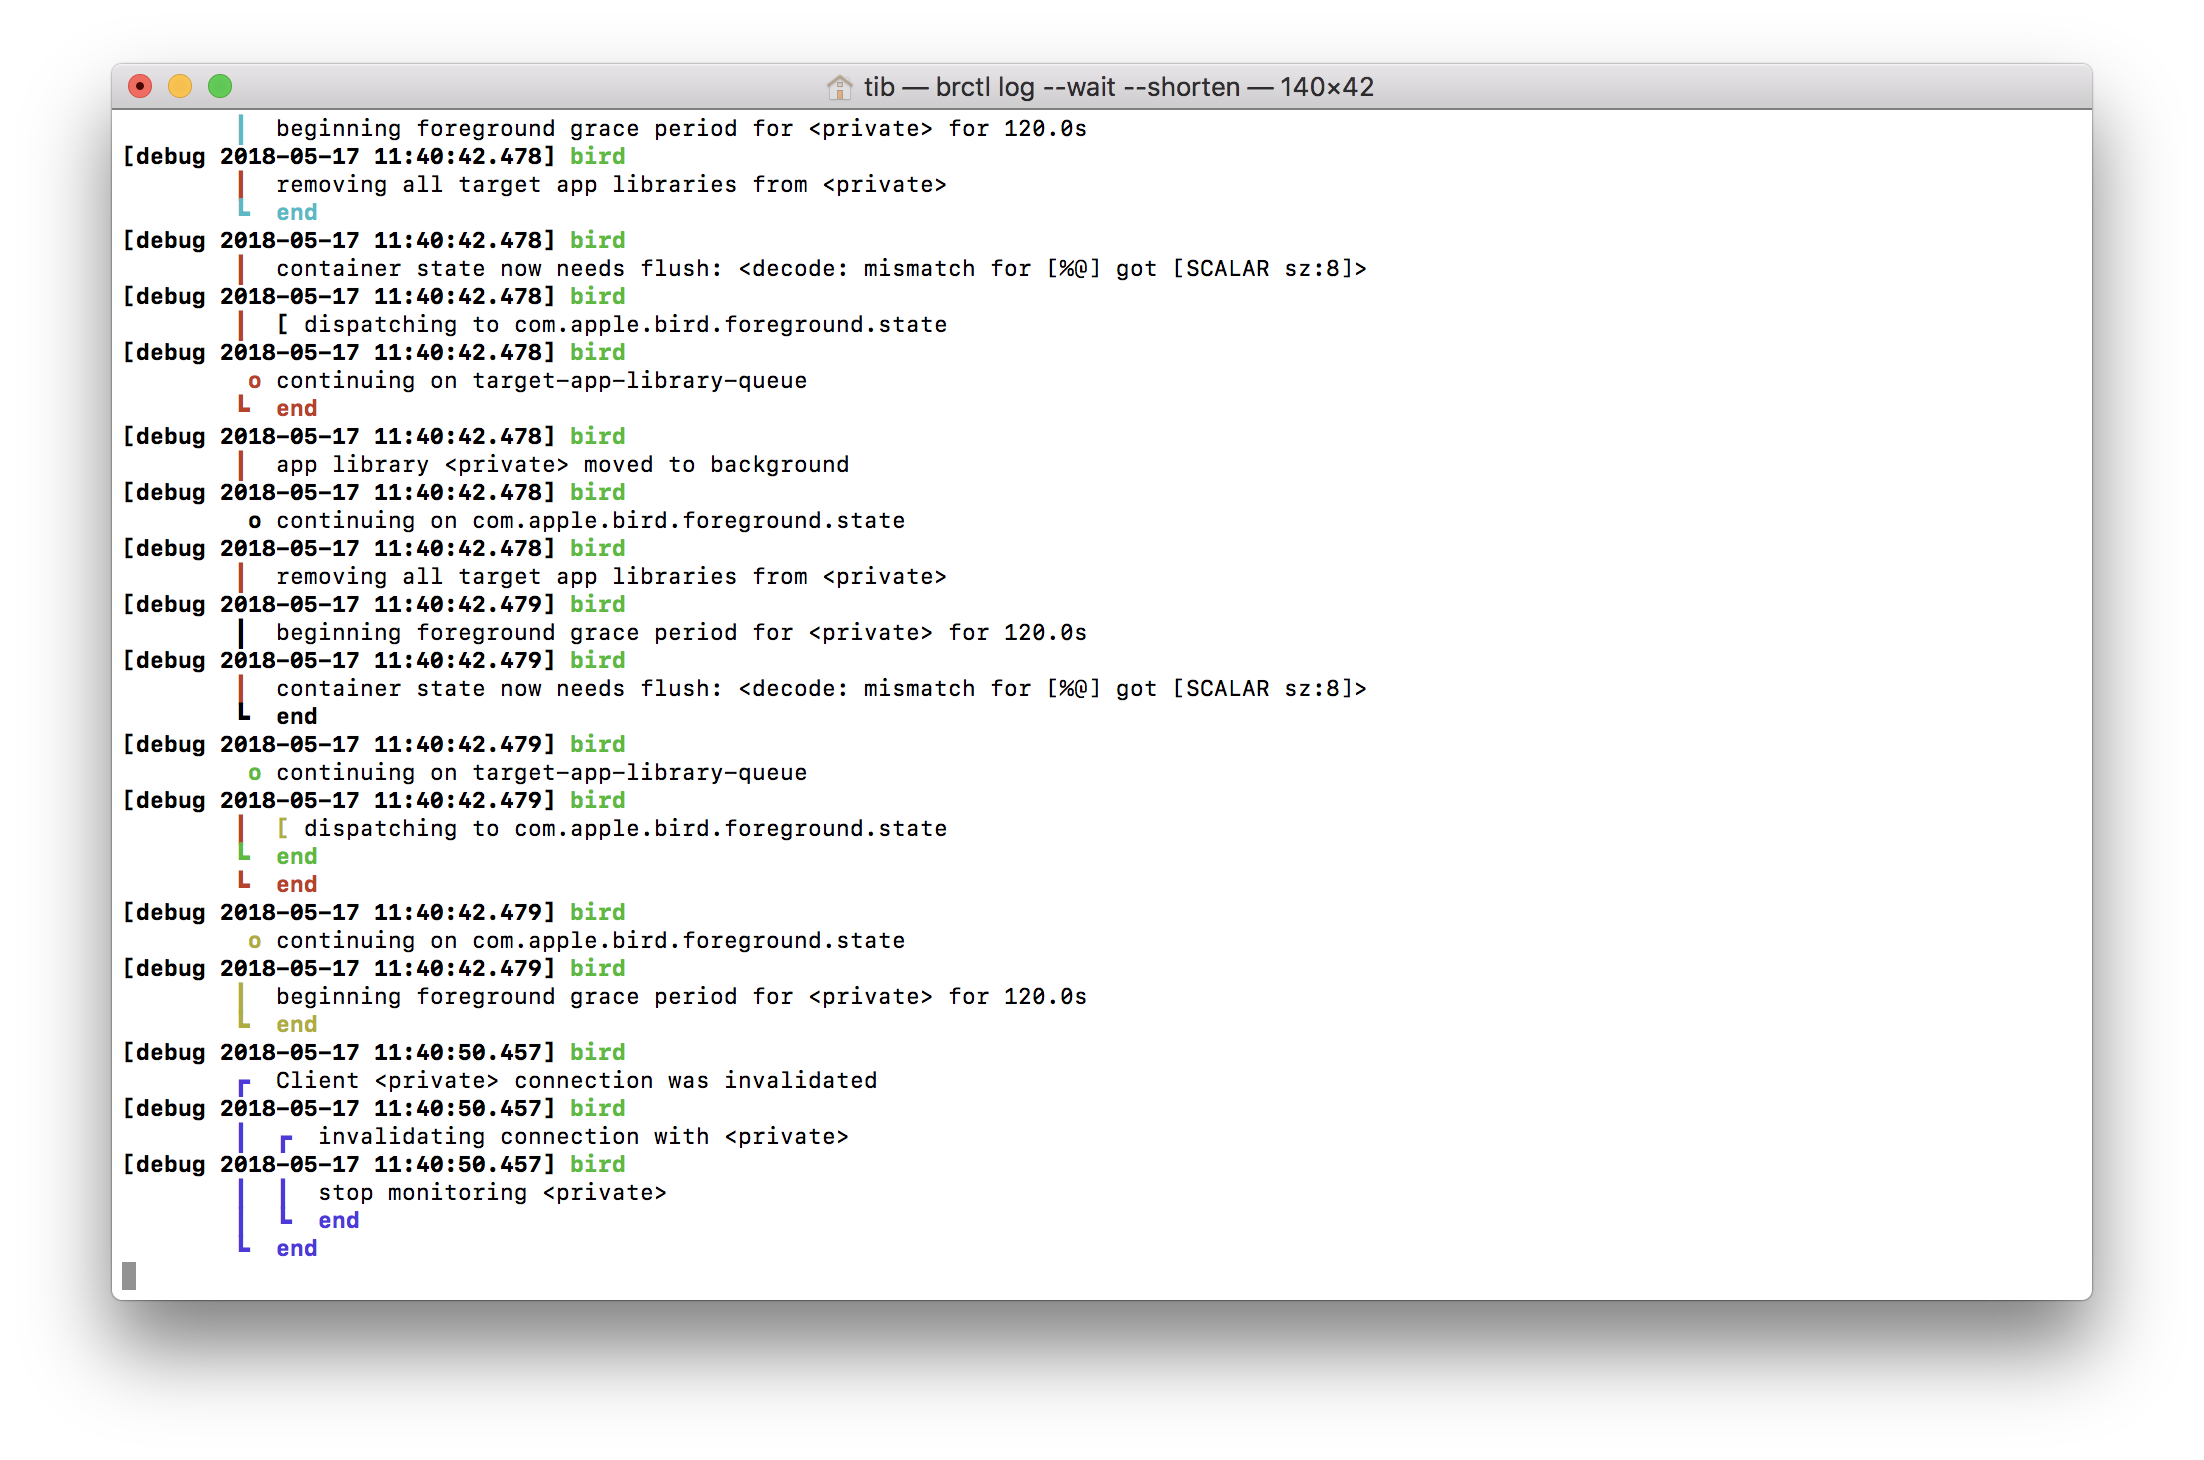
I encourage you to examine the handbook entry for the brctl command, as a result of there are a couple of extra flags that may make troubleshooting simpler. 🤐
This text was closely impressed by Marcin Krzyzanowski’s actually outdated weblog publish. 🍺
